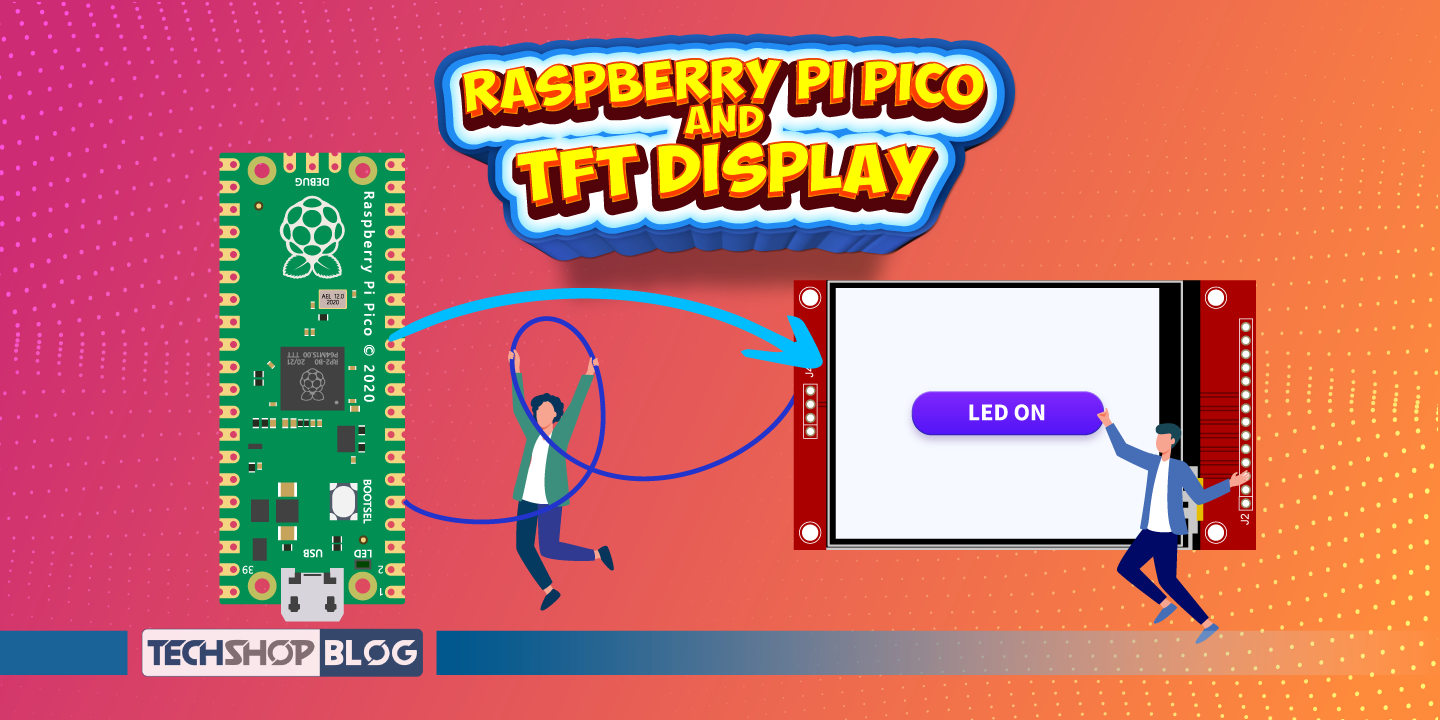
Artificial Intelligence, IoT, Robotics—অথবা যেকোনো প্রোজেক্টেই Raspberry Pi Pico তার Efficient এবং Powerful মাইক্রোকন্ট্রোলার আর্কিটেকচারের মাধ্যমে অসাধারণ ভূমিকা রেখে চলেছে। কিন্তু প্রোজেক্ট যতই সহজ কিংবা অ্যাডভান্সড হোক না কেন, প্রোজেক্টকে Lively এবং Interactive করে তুলতে একটি Display সবসময়ই অত্যন্ত জরুরি। আর এই কাজের জন্য TFT LCD Touch Display এর মতো ডিভাইজটি হয়ে উঠতে পারে স্মার্ট সলিউশন। কারণ এখানে তুমি শুধু Display-তেই Data Show করতে পারবে না, বরং সরাসরি Microcontroller-এর সাথে Interact করার জন্য Touch-এর মতো দারুণ ফিচারও ব্যবহার করতে পারবে।

কিন্তু আমরা অনেকেই TFT LCD Touch Display মডিউলটি ইন্টারফেসিং নিয়ে বেশ ঝামেলায় পরি। তবে চিন্তার কিছু নেই Raspberry Pi Pico তে মাইক্রো পাইথনের সাহায্যে, চাইলেই খুব সহজেই Display টি ইন্টারফেইস করতে পারবে।
তাহলে দেরি কেনো চলো এখনি শুরু করি Raspberry Pi Pico এর সাথে TFT LCD Touch Display ইন্টারফেসিং!
ইন্টারফেসিং
তোমার 2.8 inch TFT LCD Touch Display টি Raspberry Pi Pico মাইক্রোকন্ট্রোলারের সাথে ইন্টারফেইসিং এর জন্য প্রথমেই কিছু Requirements ফুলফিল করতে হবে।
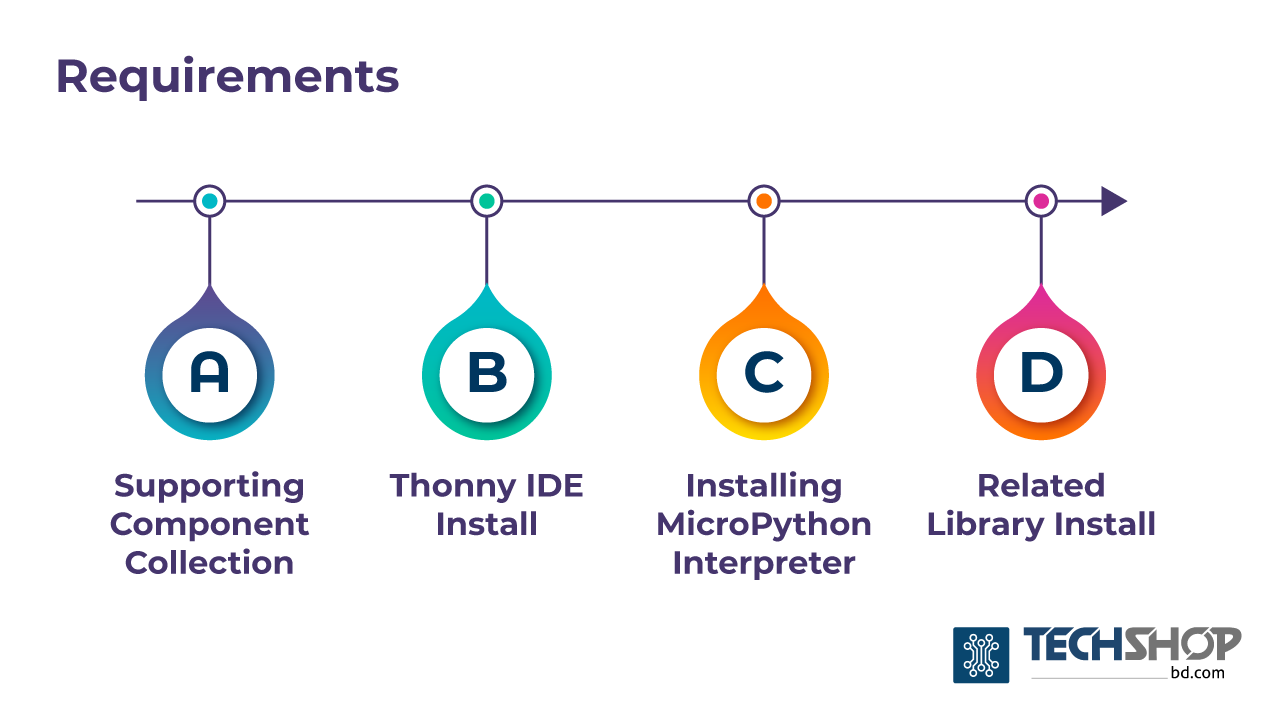
Requirements
- Supporting Component Collection.
- Thonny IDE Install.
- Installing Micropython Interpreter
- Related Library Install.
Supporting Component Collection:
2.8 inch TFT LCD Touch Display এবং Raspberry Pi Pico কে ইন্টারফেইস করার জন্য কিছু সাপোর্টিং কম্পোনেন্ট Purchase করে নিতে হবে। যদি তোমার কাছে আগে থেকেই কম্পোনেন্টগুলো থেকে থাকে তাহলে তুমি Skip করতে পারো।
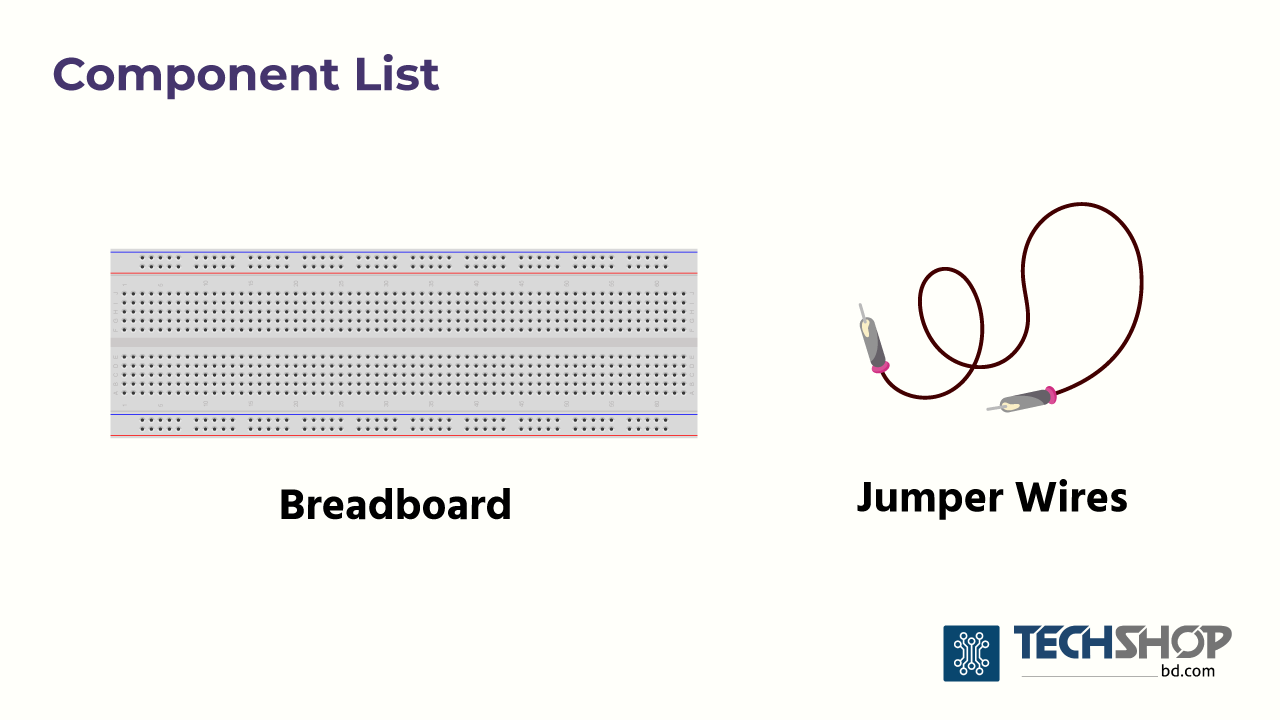
Component List:
| কম্পোনেন্টের নাম | পরিমান |
|---|---|
| 🔗 Breadboard |
1 |
| 🔗 Male to Male Jumper Wire |
20 |
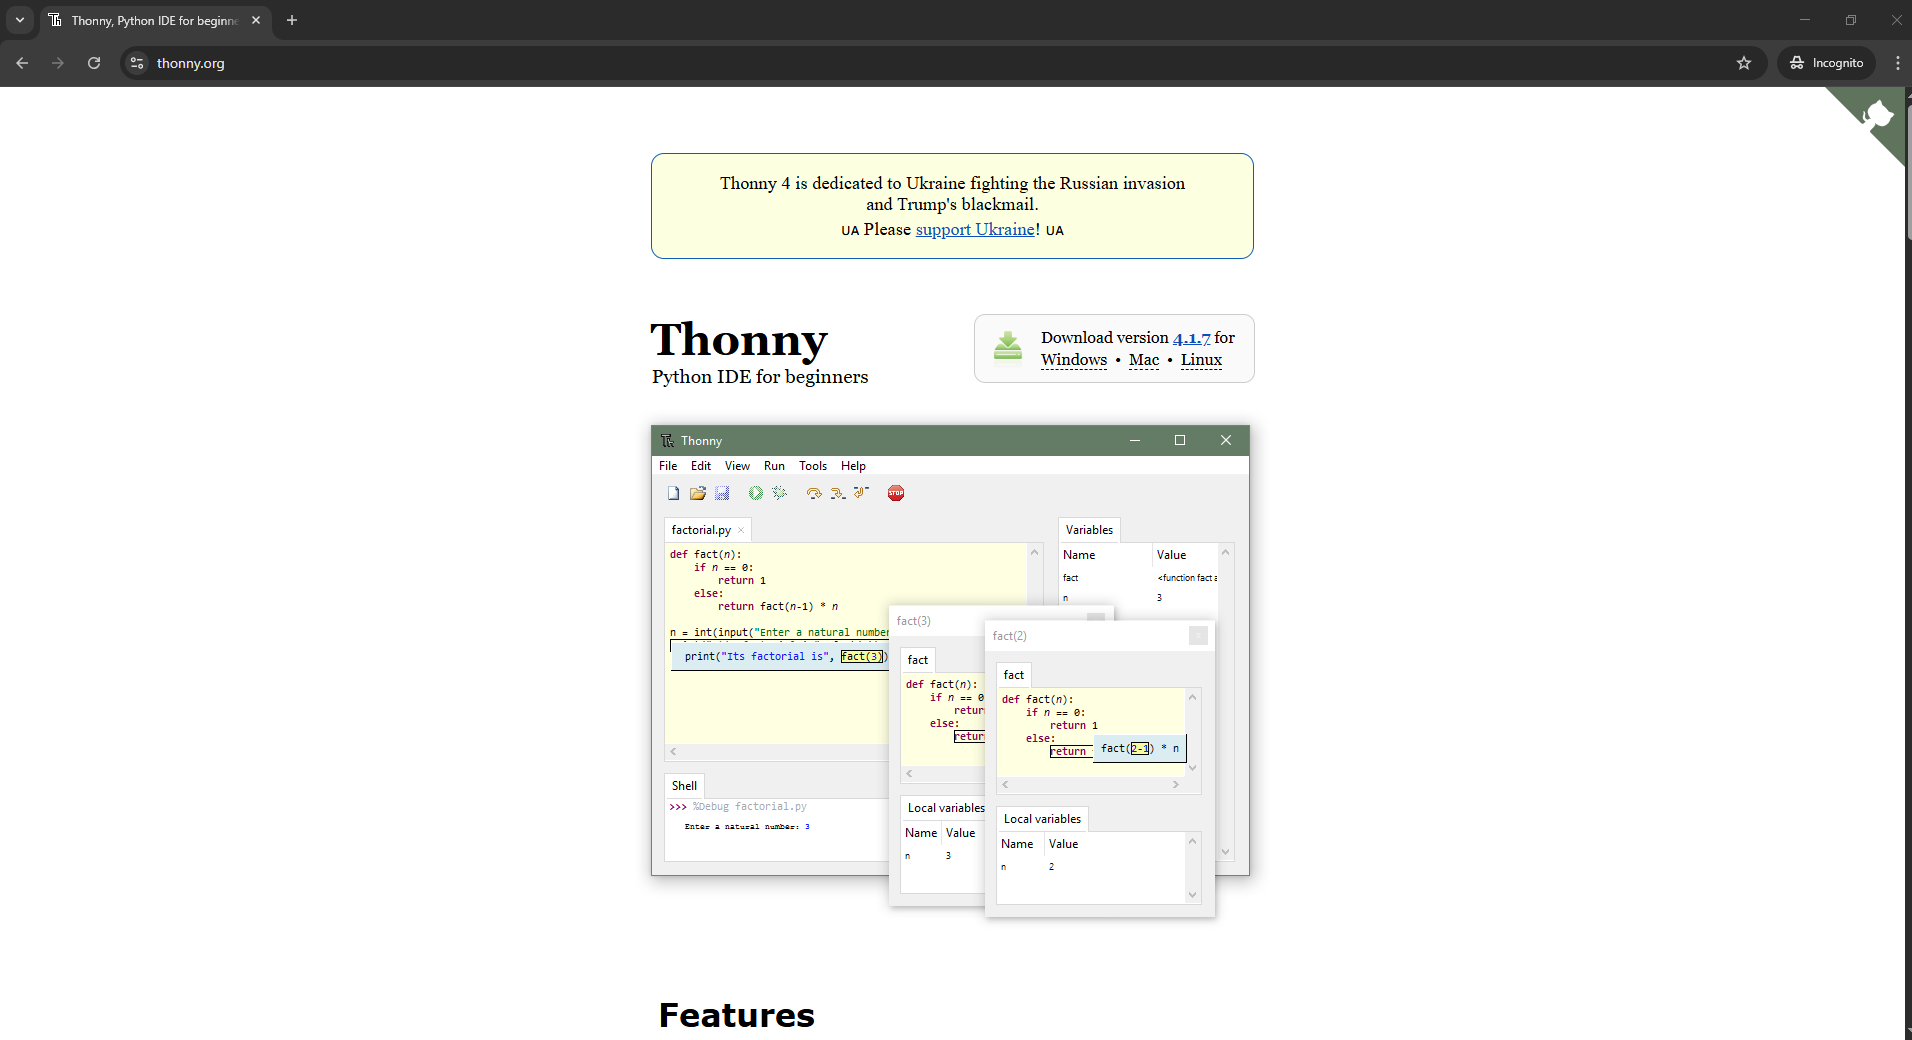
Thonny IDE Install:
যদি তোমার কম্পিউটারে আগে থেকেই Thonny IDE ইনস্টল করা থাকে, তবে এই ধাপটি সহজেই Skip করতে পারো। আর যদি না থাকে, তাহলে Thonny IDE ডাউনলোড করার জন্য সরাসরি এই লিংকে ভিজিট করো। (তোমার Operating System অনুযায়ী Download করে Install করে নাও!)
Installing Micropython Interpreter:
Thonny IDE ইন্সটল হয়ে গেলে IDE টি Open করো।
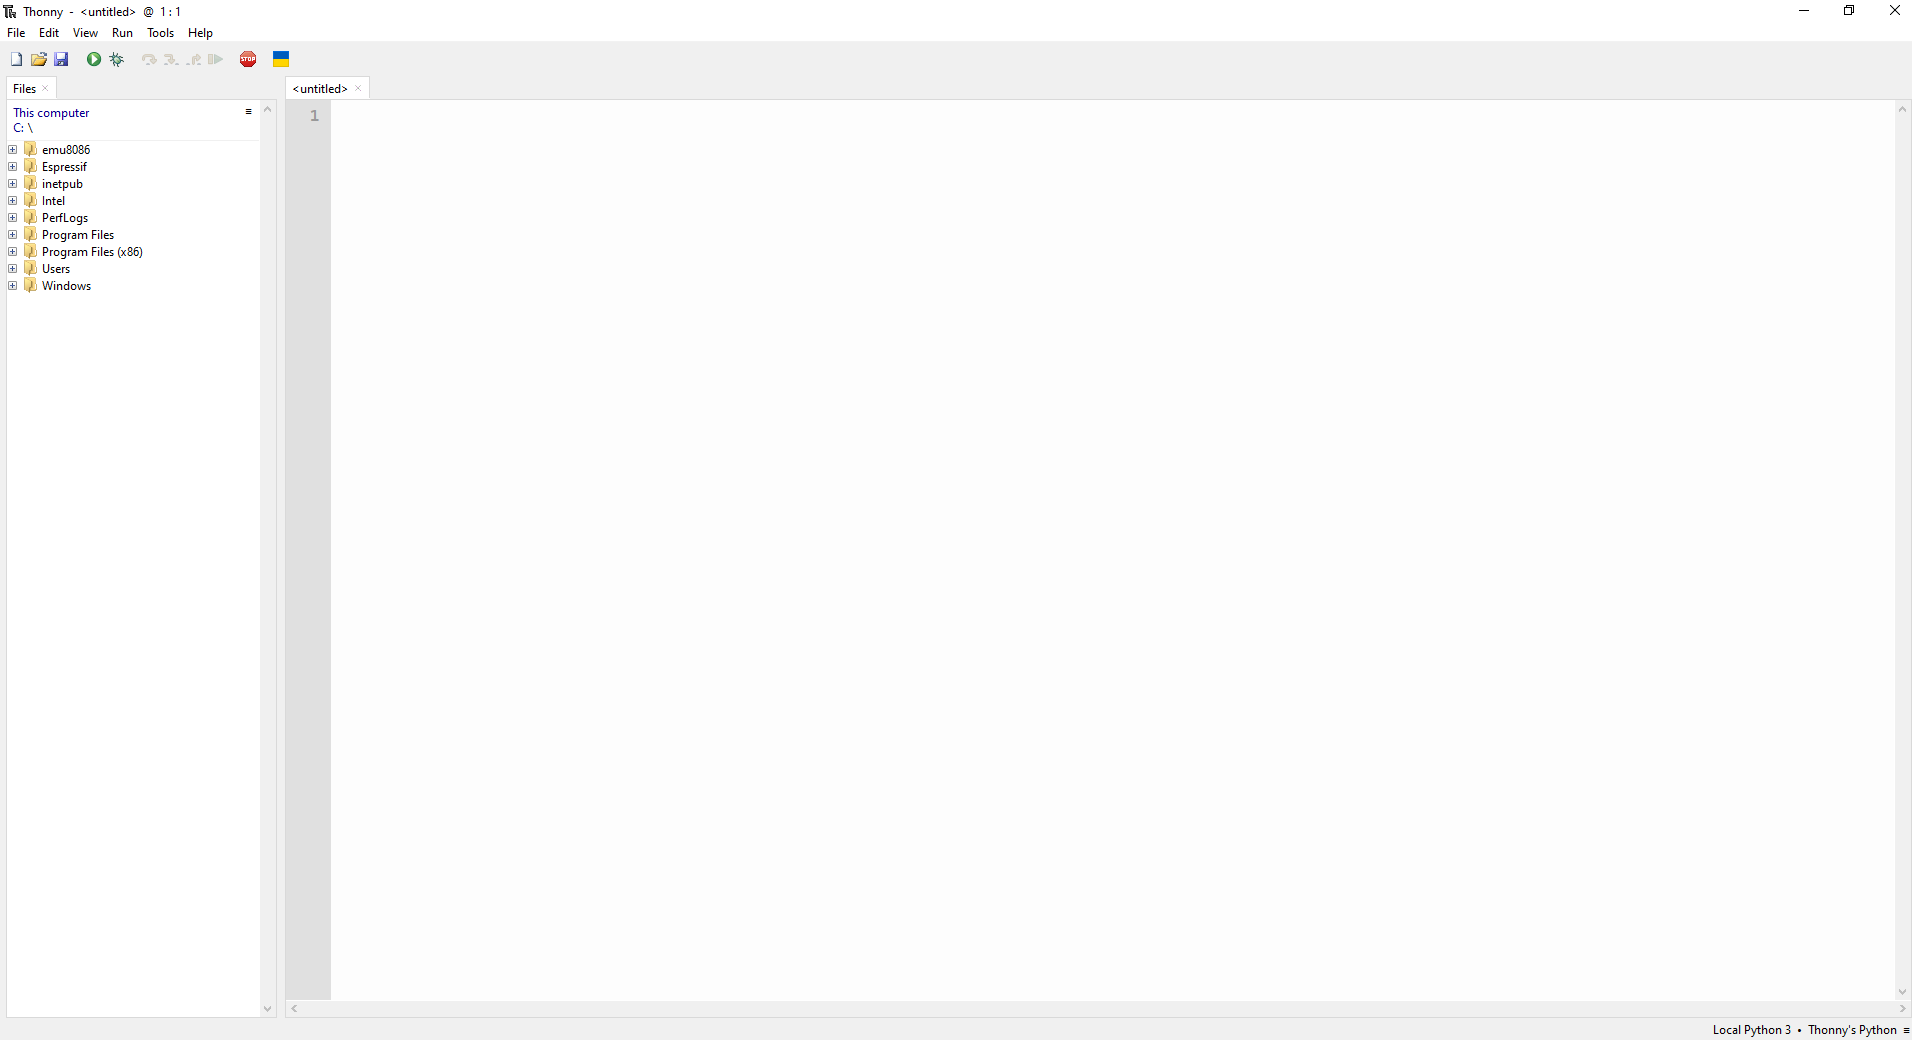
তারপর তোমার Raspberry Pi Pico মাইক্রোকন্ট্রোলারের BOOTSEL Button টি চেপে Micro USB এর সাহায্যে কম্পিউটারের সাহায্যে কানেক্ট করে বাটনটি ছেড়ে দেও। (BOOTSEL Button চেপে Raspberry Pi Pico পাওয়ার আপ করার মাধ্যমে তুমি মাইক্রোকন্ট্রোলারটিতে Firmware Update করার access পাবে।)
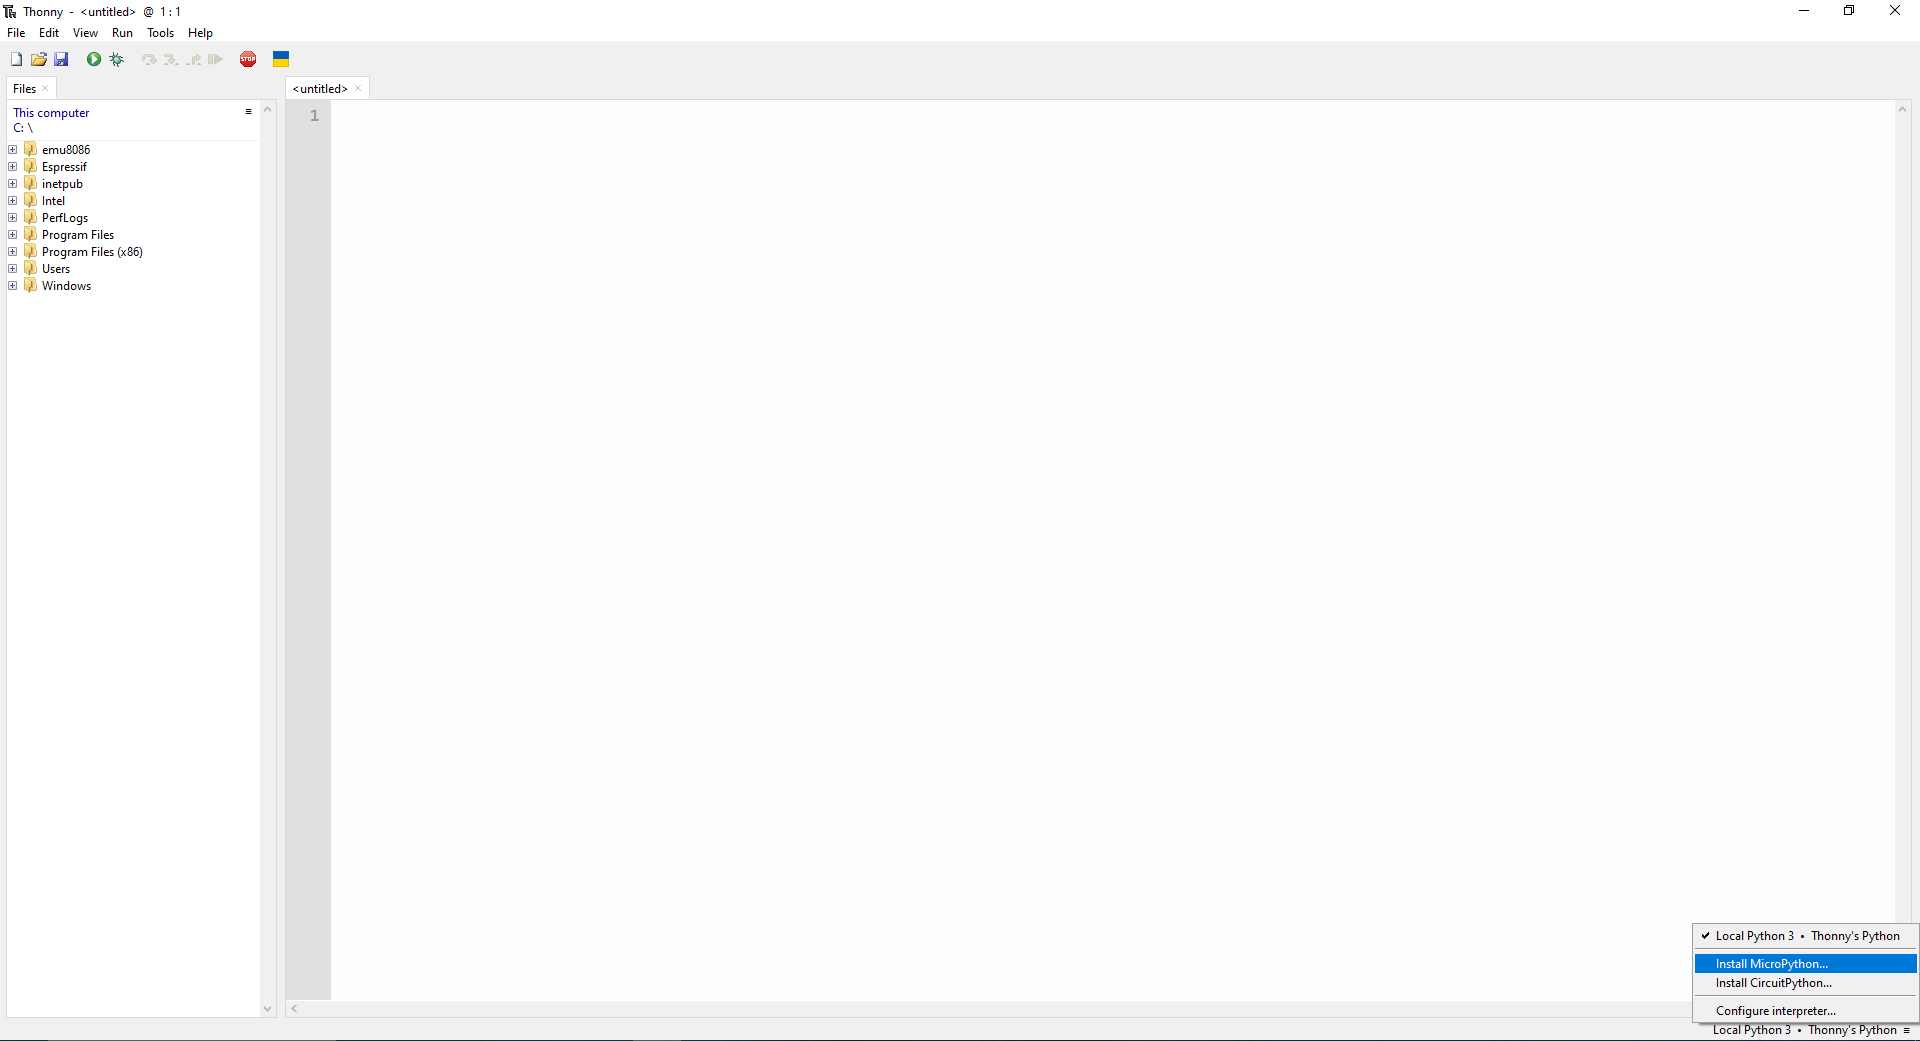
এখন ডান পাশের নিচের দিকে Local Python 3 . Thonny’s Python অপশনটি ক্লিক করলে একটি Top Up ম্যেনু appear হবে এবং সেখান থেকে Install MicroPython অপশনে ক্লিক করো।
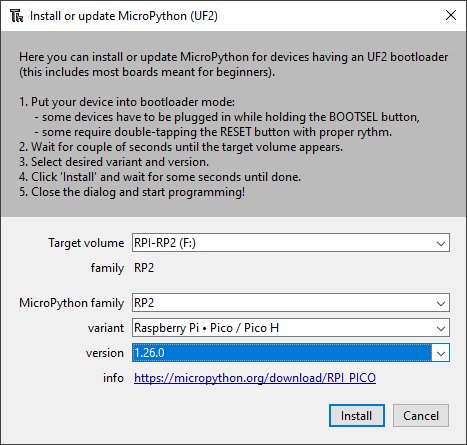
এরপর নিচের ছবিতে দেখানো অনশন গুলো সিলেক্ট করে Install বাটনে ক্লিক করো। ফলে তোমার Raspberry Pi Pico মাইক্রোপাইথনে কোডিং এর জন্য প্রস্তুত হয়ে যাবে।
Related Library Install
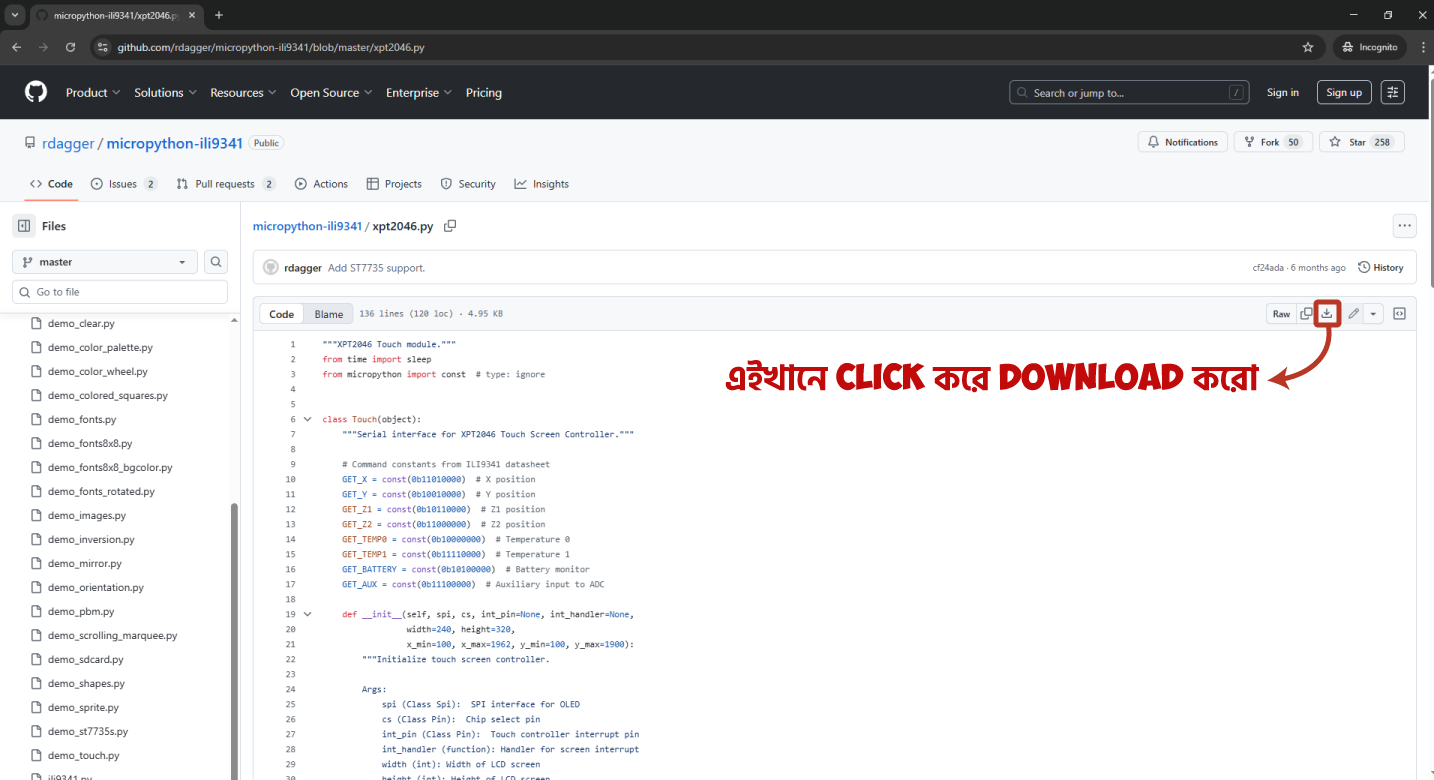
প্রথমেই নিচের লিংক ক্লিক করে দুইটি লাইব্রেরী ফাইল ডাউনলোড করে নাও!

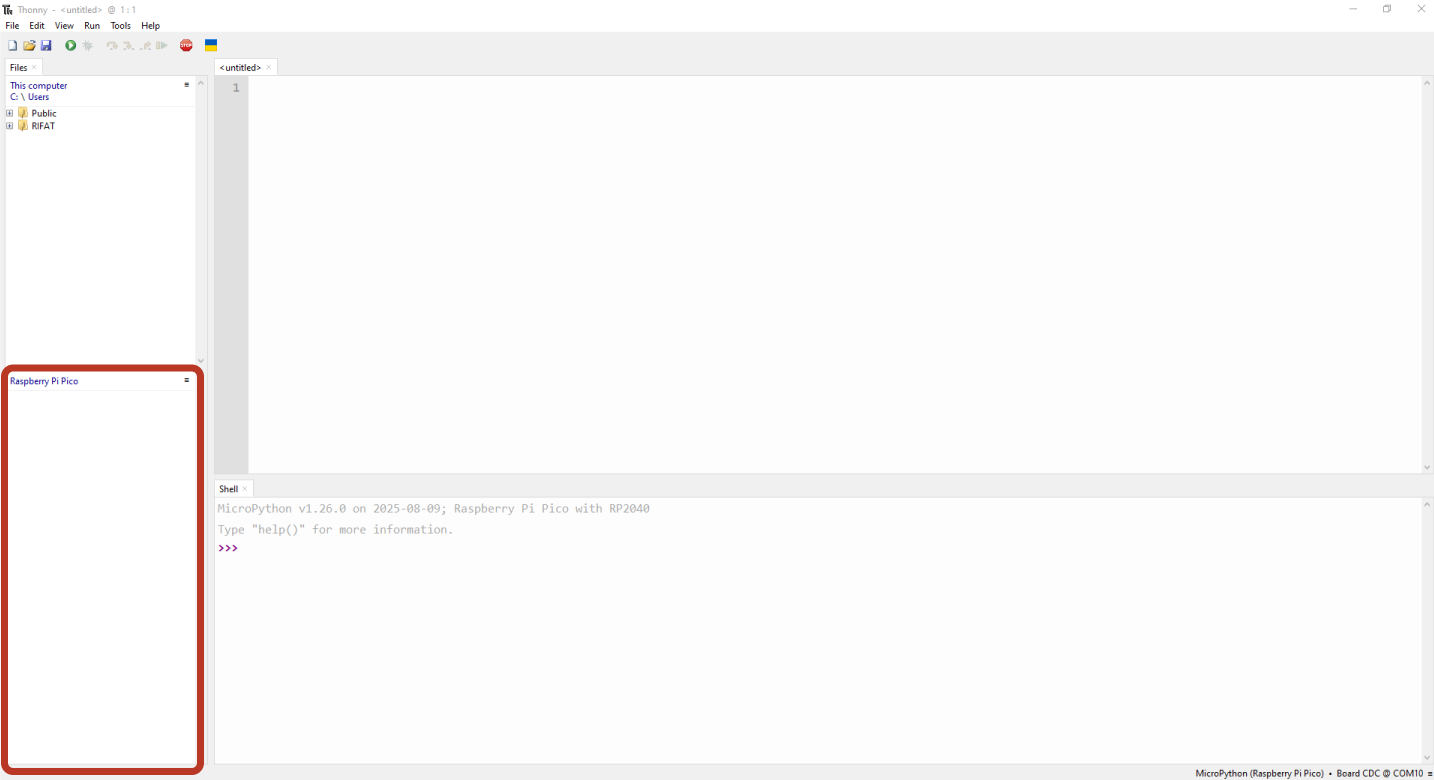
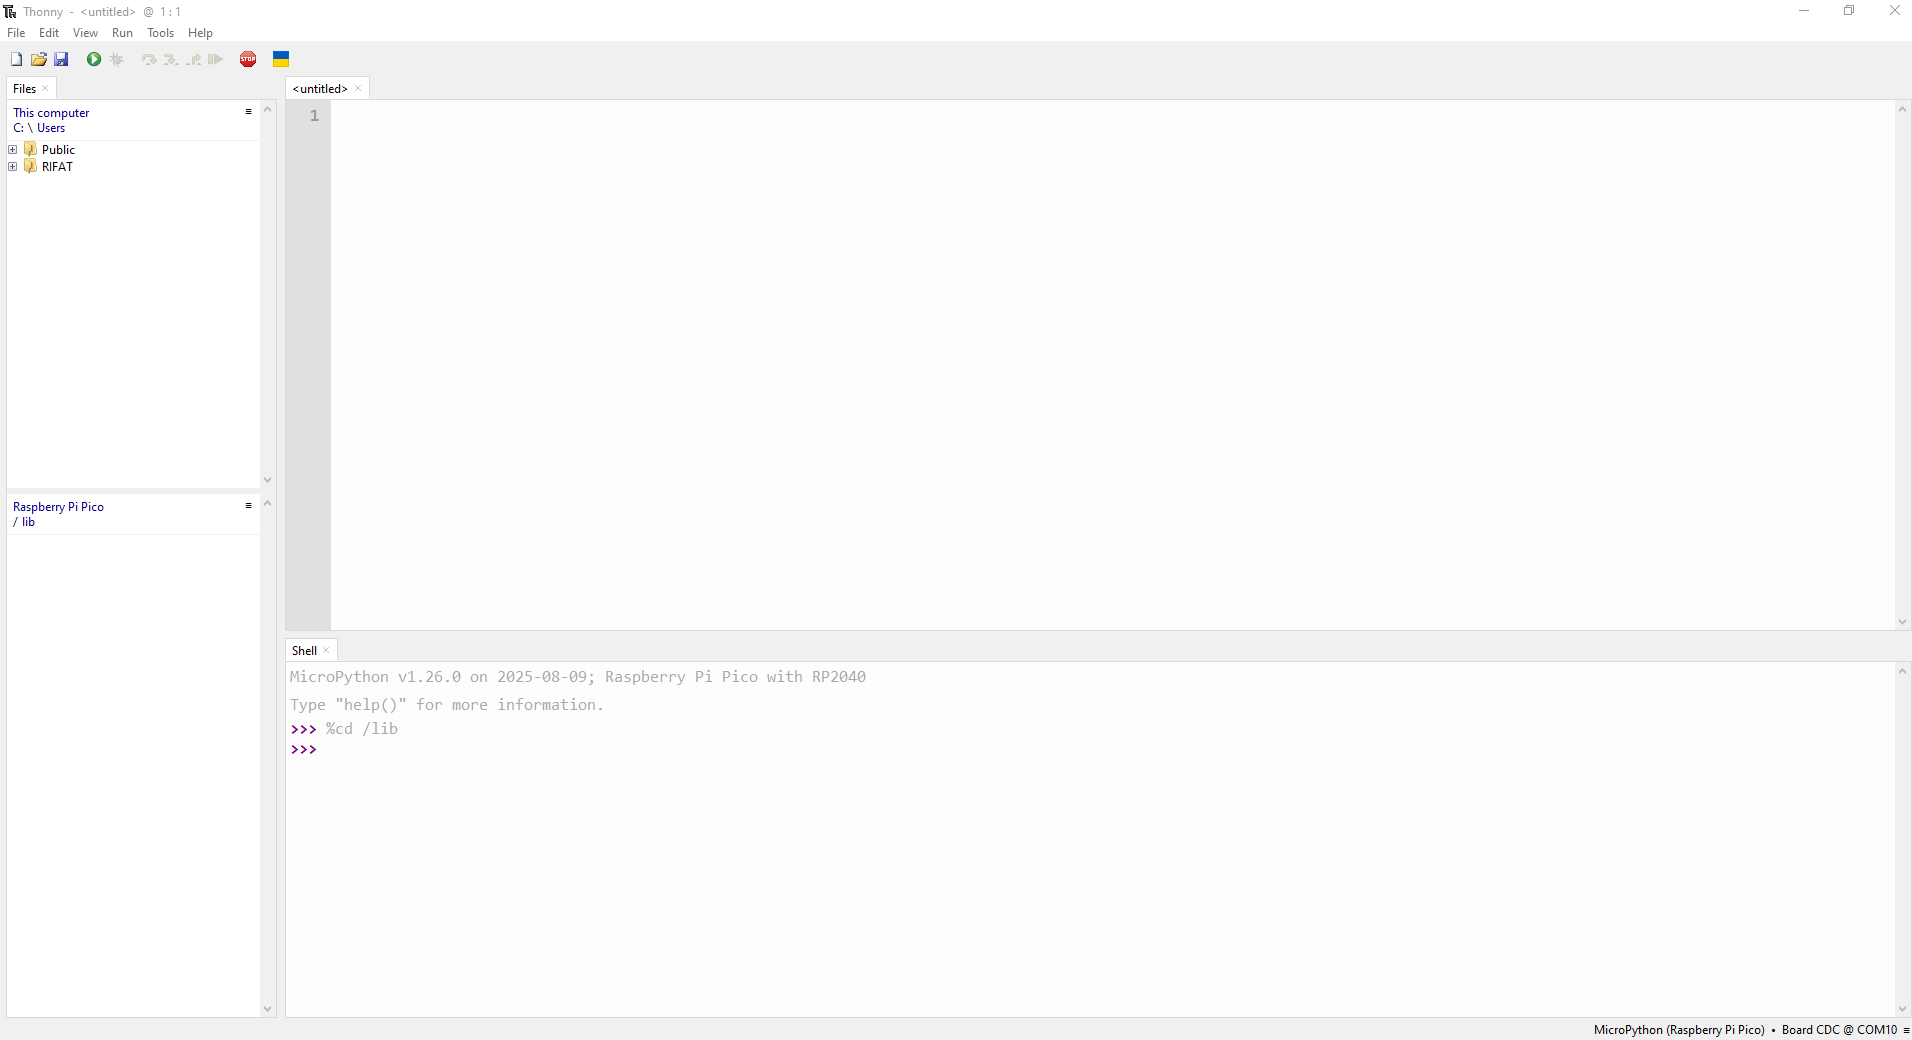
এখন ডান সাইডে নিচে Local Python 3 . Thonny’s Python অপশনটি ক্লিক করলে একটি Top Up ম্যেনু আসলে সেখান থেকে MicroPython (Raspberry Pi Pico) . Board CDC @COMX ক্লিক করো।
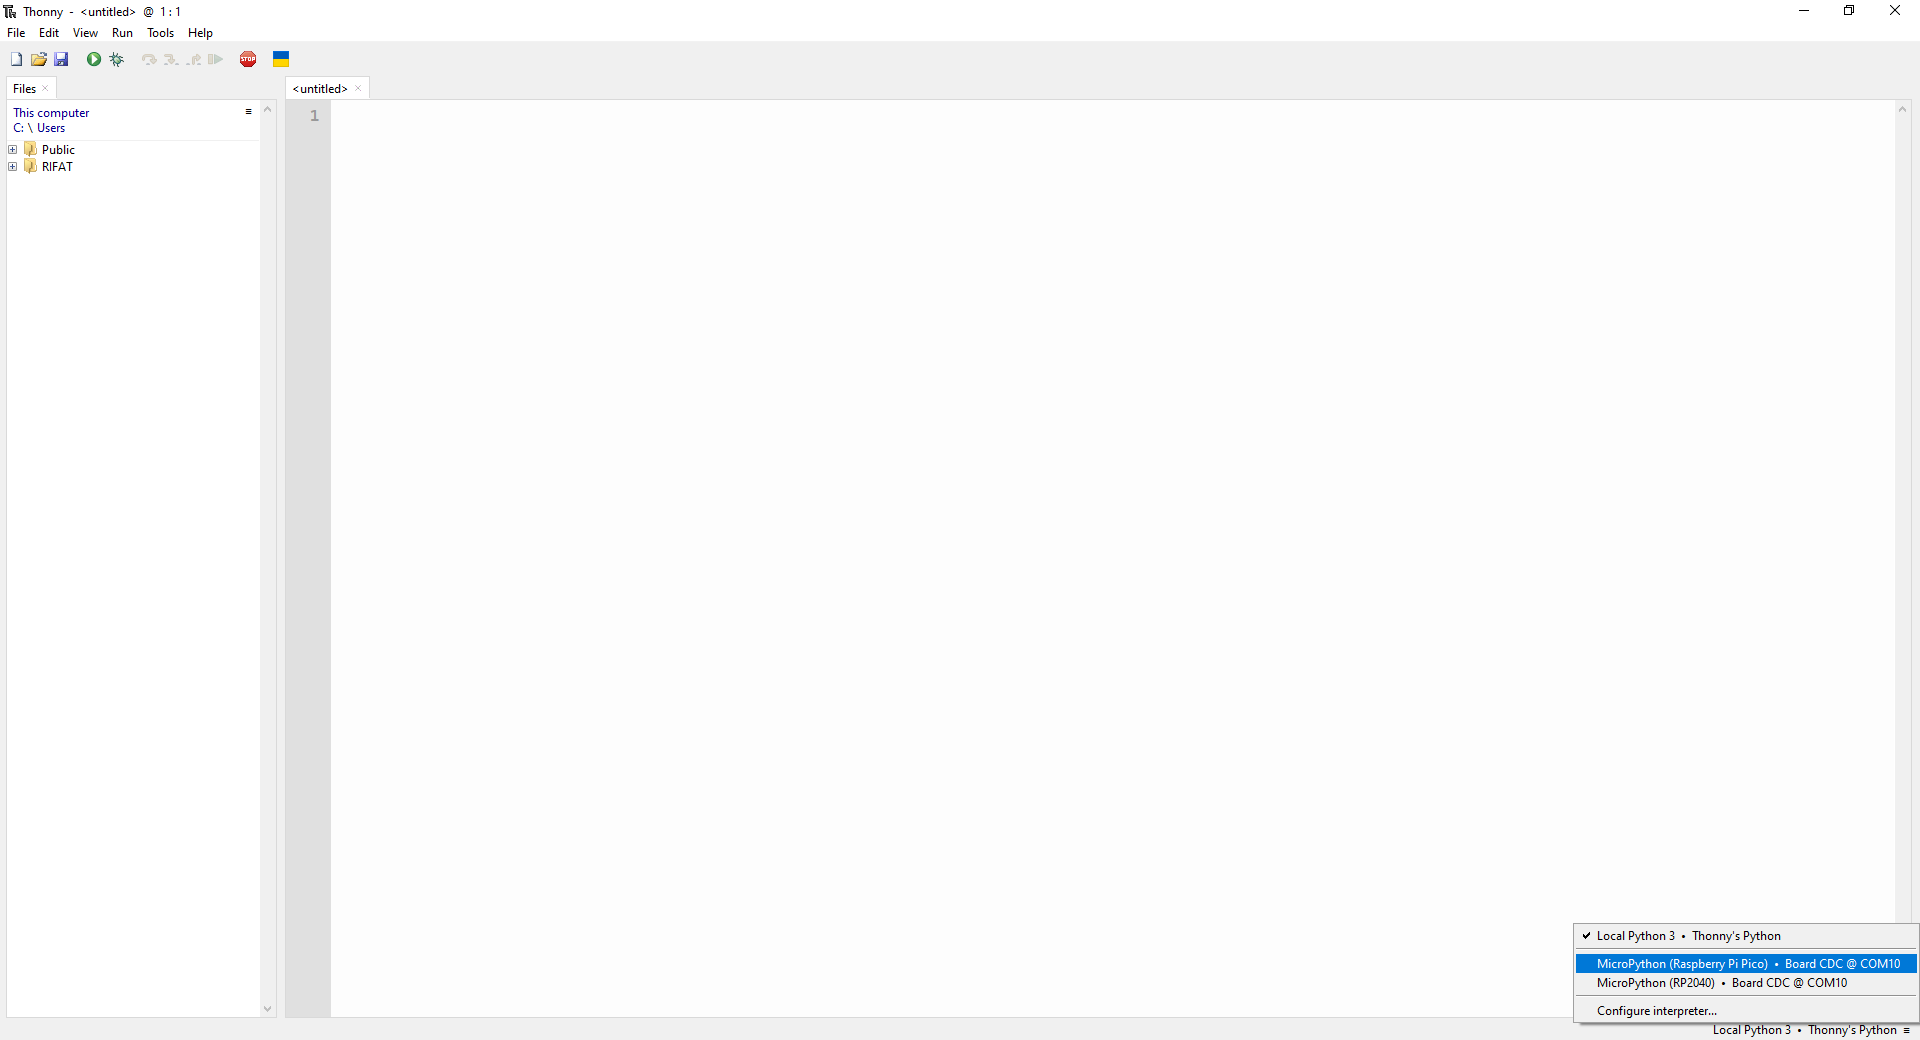
এতে বাম পাশে File Explorer এর মধ্যে Raspberry Pi Pico নামে একটি সেকশন তৈরি হবে।
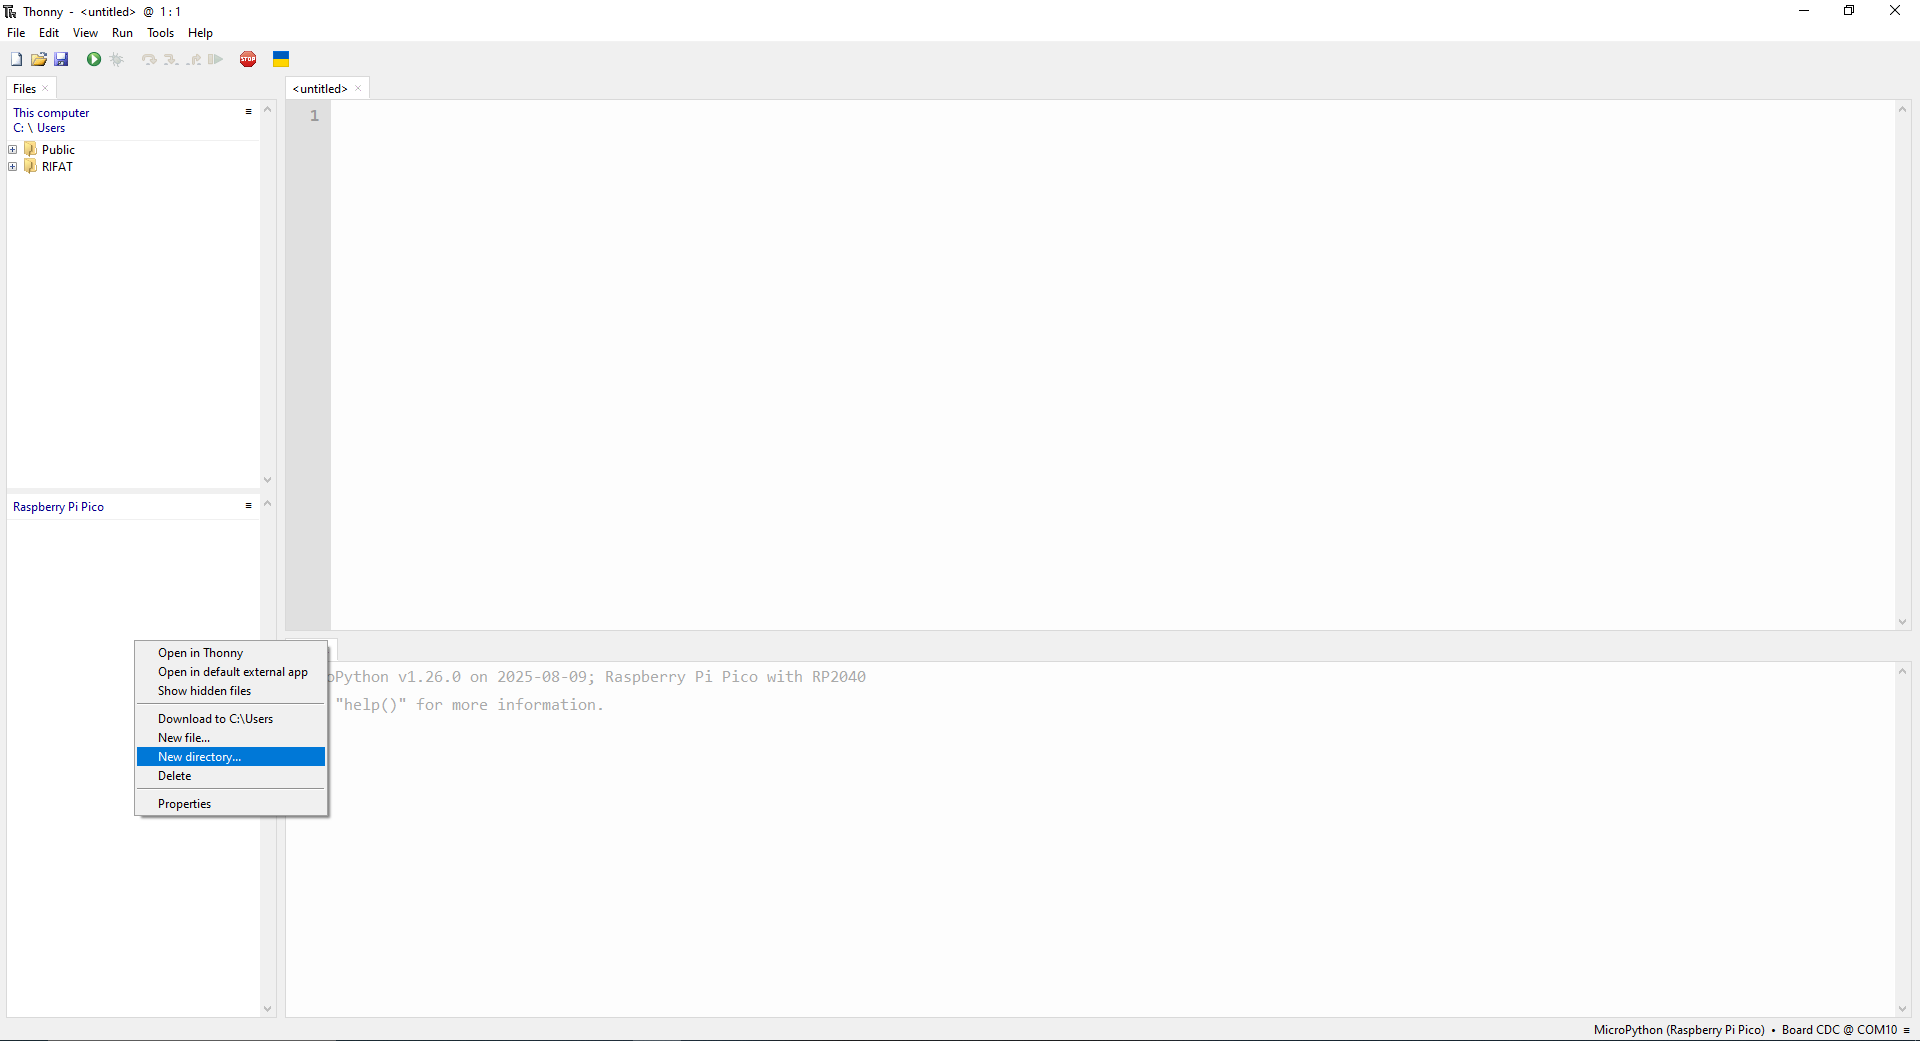
এখন এই সেকশনে Right Click করে New directory… অপশনটি সিলেক্ট করো।
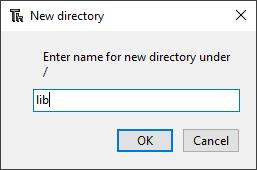
তারপর lib নামে একটি নতুন Directory তৈরি করো।
ফলে Raspberry Pi Pico সেকশনে আলদা একটি lib নামে Directory ওপেন হবে।
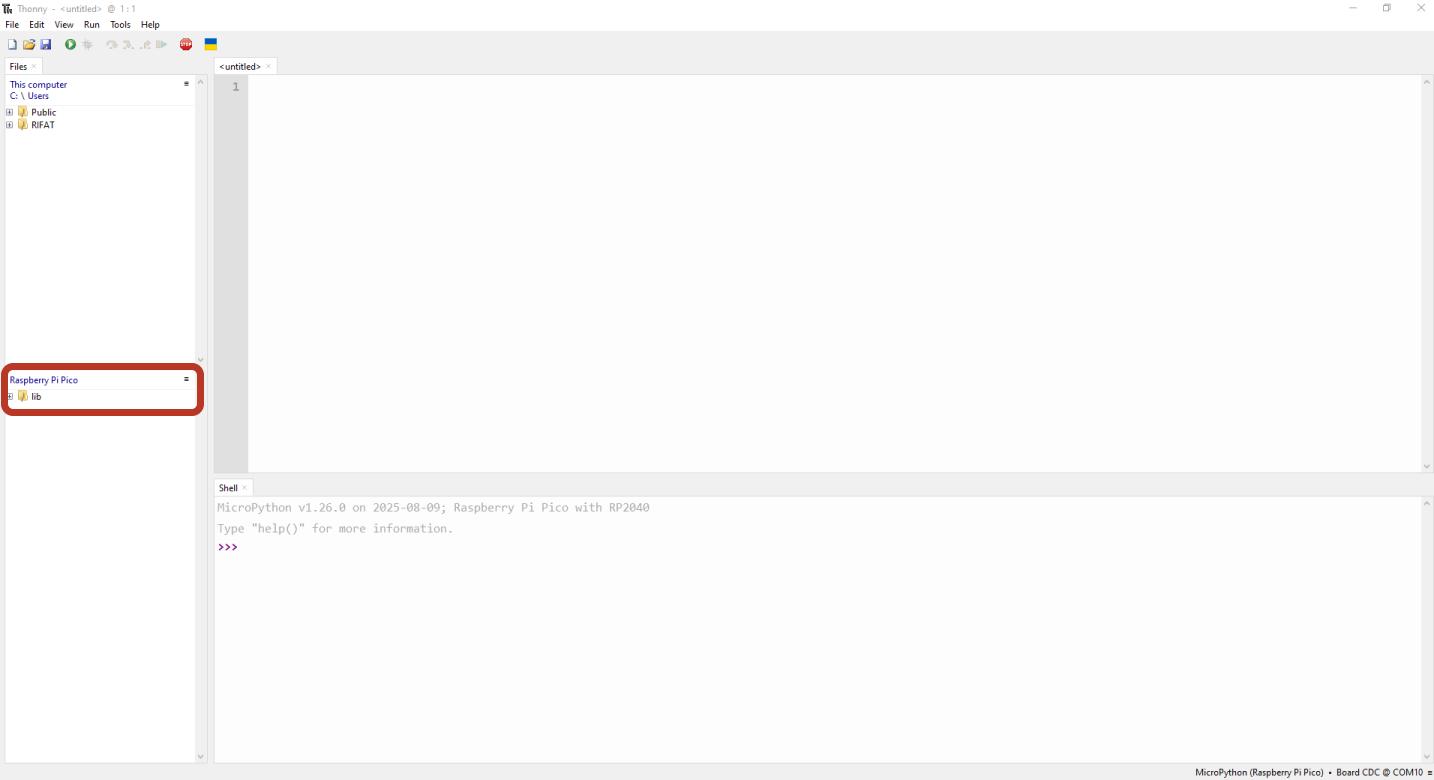
এখন lib Directory তে ডাবল ক্লিক করে ডিরেক্টরিতে প্রবেশ করো।
তারপর তোমার ডাউনলোড করা ili9341.py এবং xpt2046.py ফাইল দুইটি File Explorer এর Upper Section অর্থাৎ তোমার কম্পিউটারের সেকশন থেকে খুজে বের করো। (আমার ক্ষেত্রে ফাইল দুইটি Download নামক ফোল্ডারে রয়েছে।)
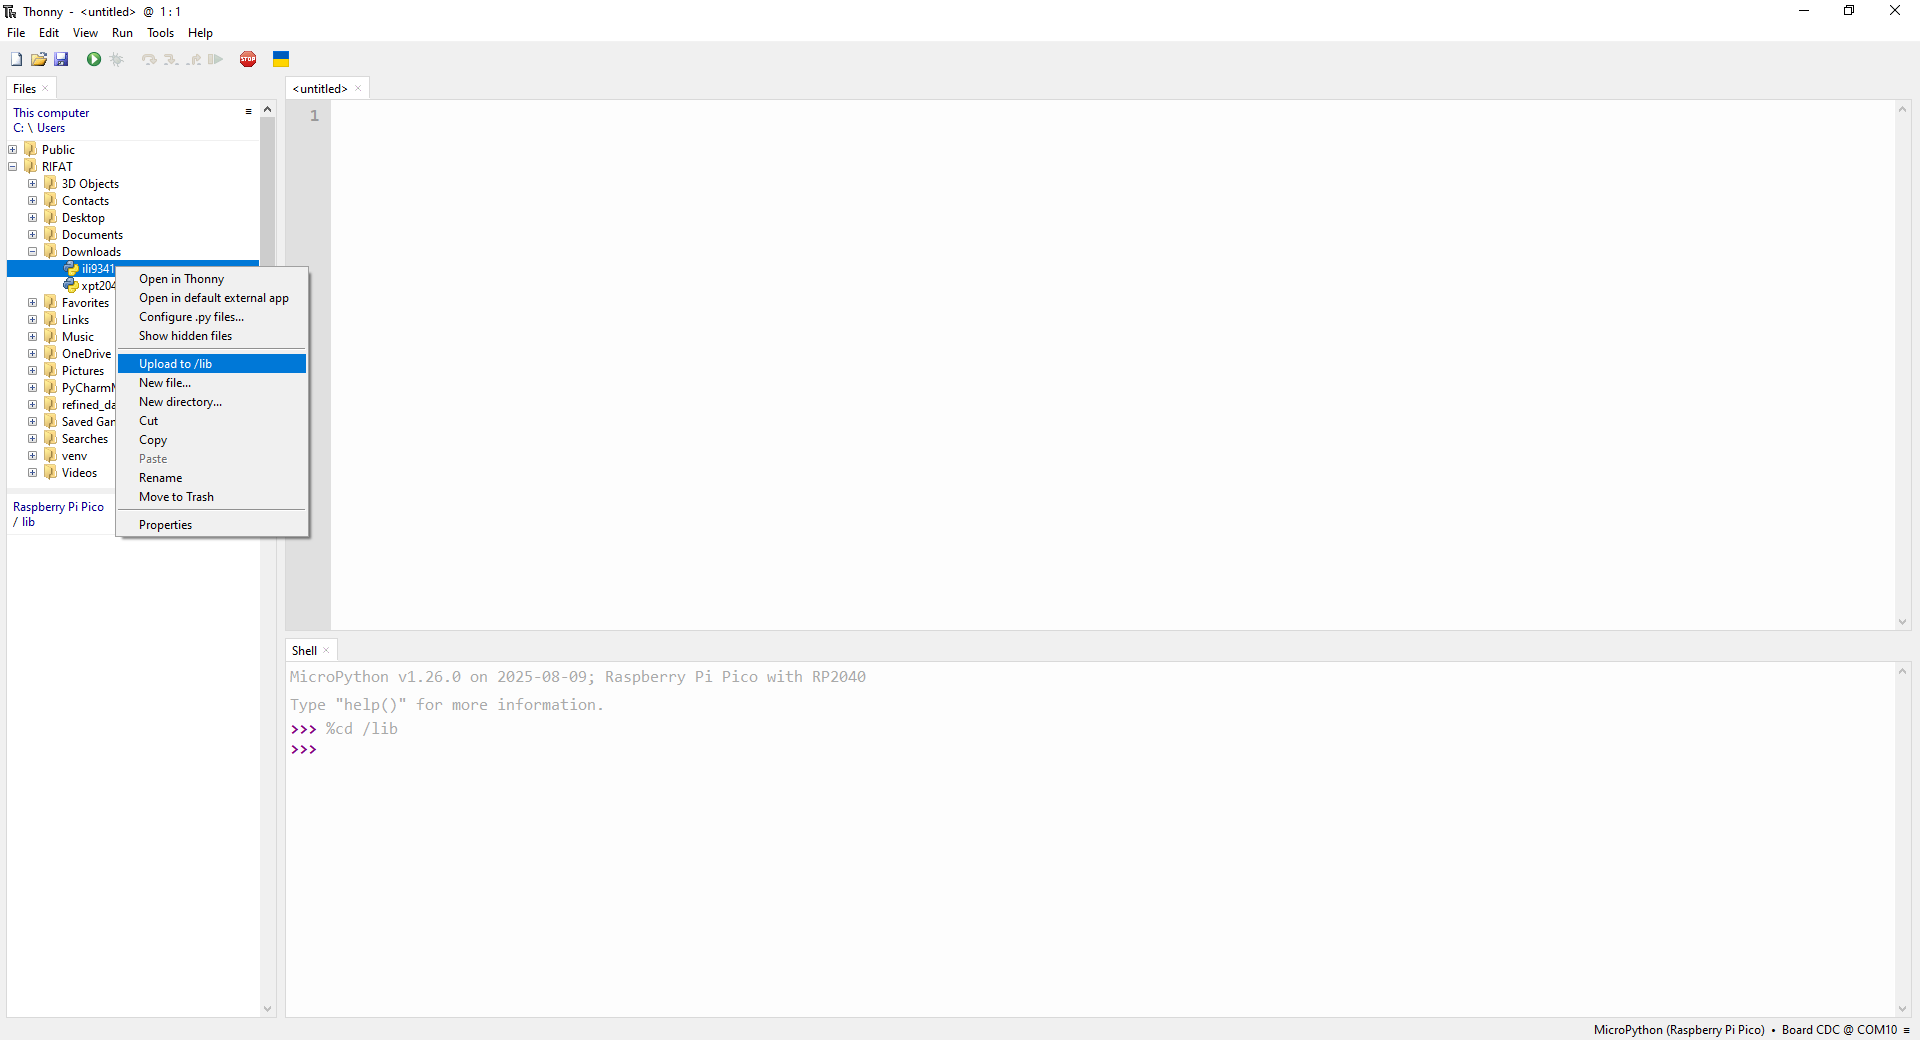
ফোল্ডার দুইটির উপরে Right ক্লিক করে Upload to /lib অপশন ক্লিক করে, ফাইল দুইটি Raspberry Pi Pico এর lib ডিরেক্টরিতে নিয়ে নাও।
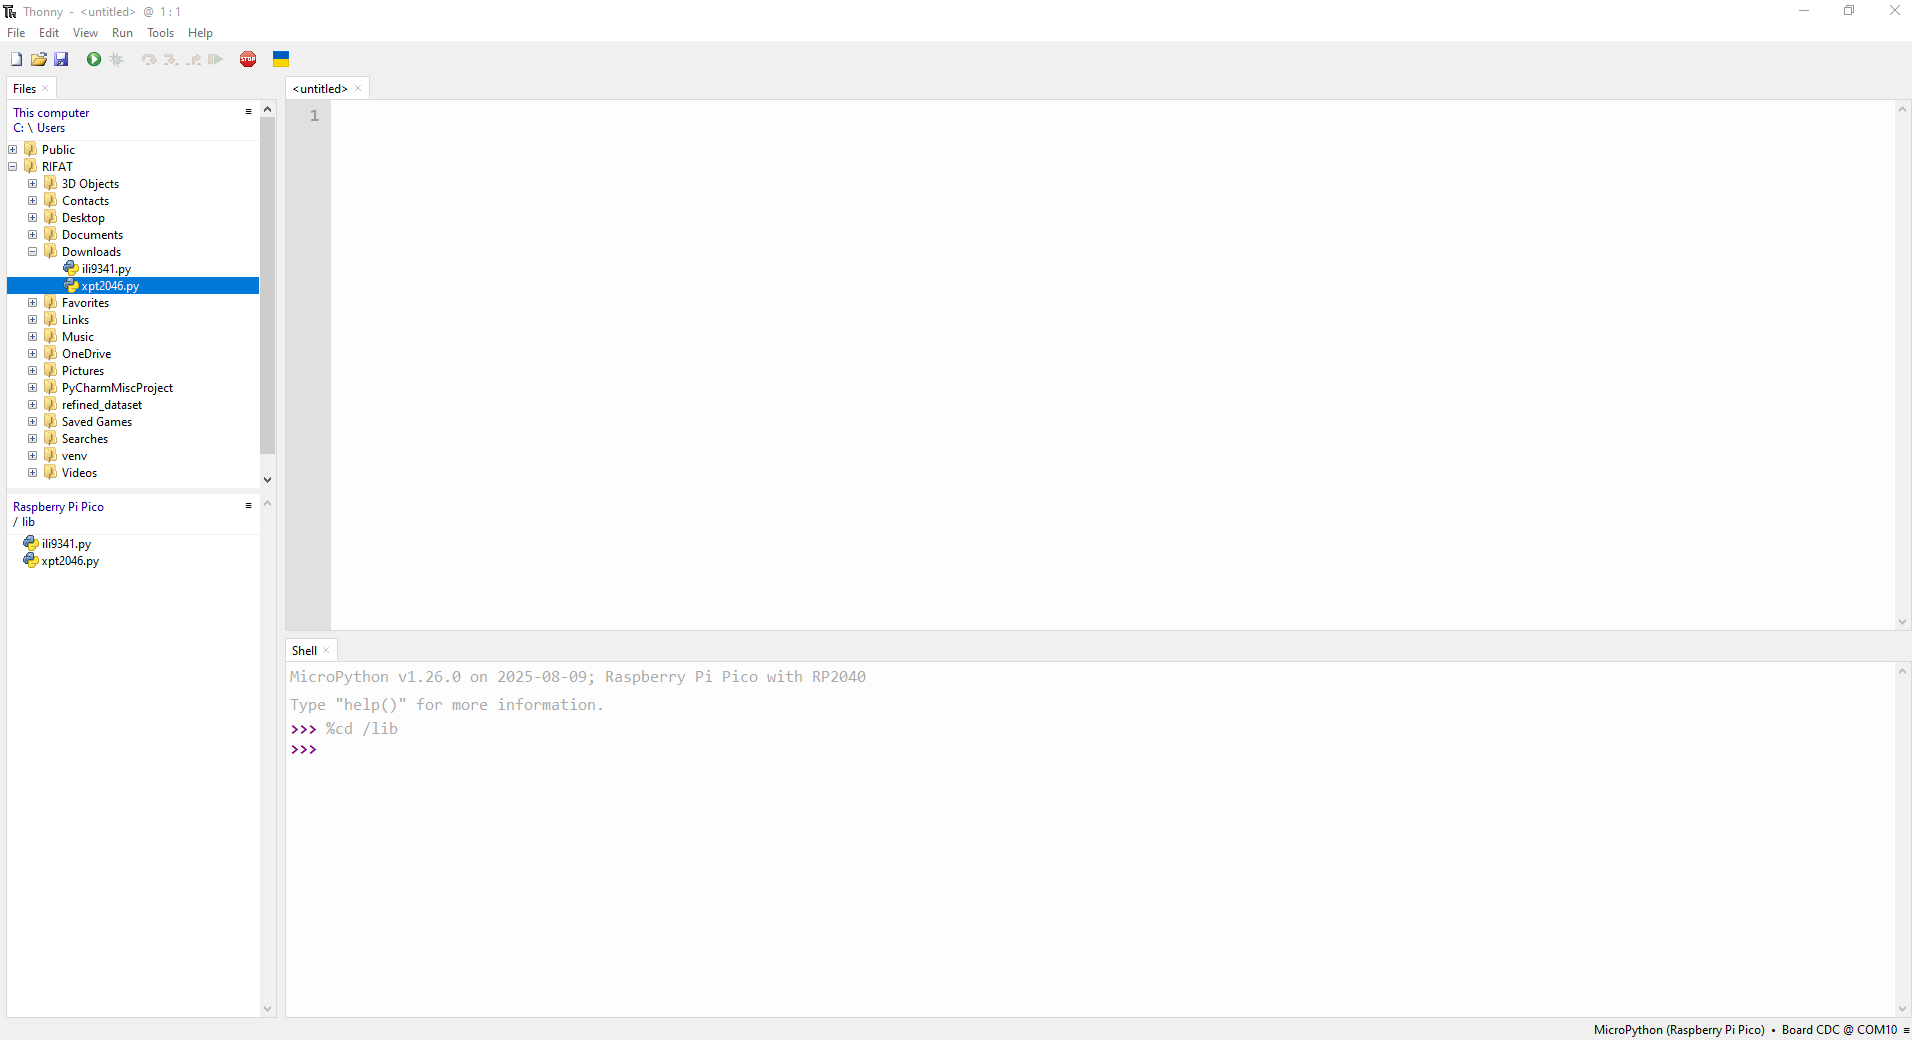
এখন তোমার লাইব্রেরীটি Raspberry Pi Pico তে Upload হয়ে গিয়েছে।
Connections
নিচের কানেকশন টেবিল অনুযায়ী TFT Display এবং Raspberry Pi Pico এর মধ্যে সংযোগ দাও।
| TFT Pin / Function | ESP32 Pin |
|---|---|
| T_IRQ (Touch IRQ) | GP 9 |
| T_OUT (Touch Output) | GP 12 |
| T_DIN (Touch Data In) | GP 11 |
| T_CS (Touch Chip Select) | GP 13 |
| T_CLK (Touch Clock) | GP 10 |
| SDO / MISO (SPI Data Out) | GP 16 |
| LED (Backlight) | 3.3V |
| SCK (SPI Clock) | GP 18 |
| SDI / MOSI (SPI Data In) | GP 19 |
| D/C (Data/Command) | GP 14 |
| RESET | GP 15 |
| CS (SPI Chip Select) | GP 17 |
| GND | GND |
| VCC | VSYS/3.3v* |
মেইন কোড
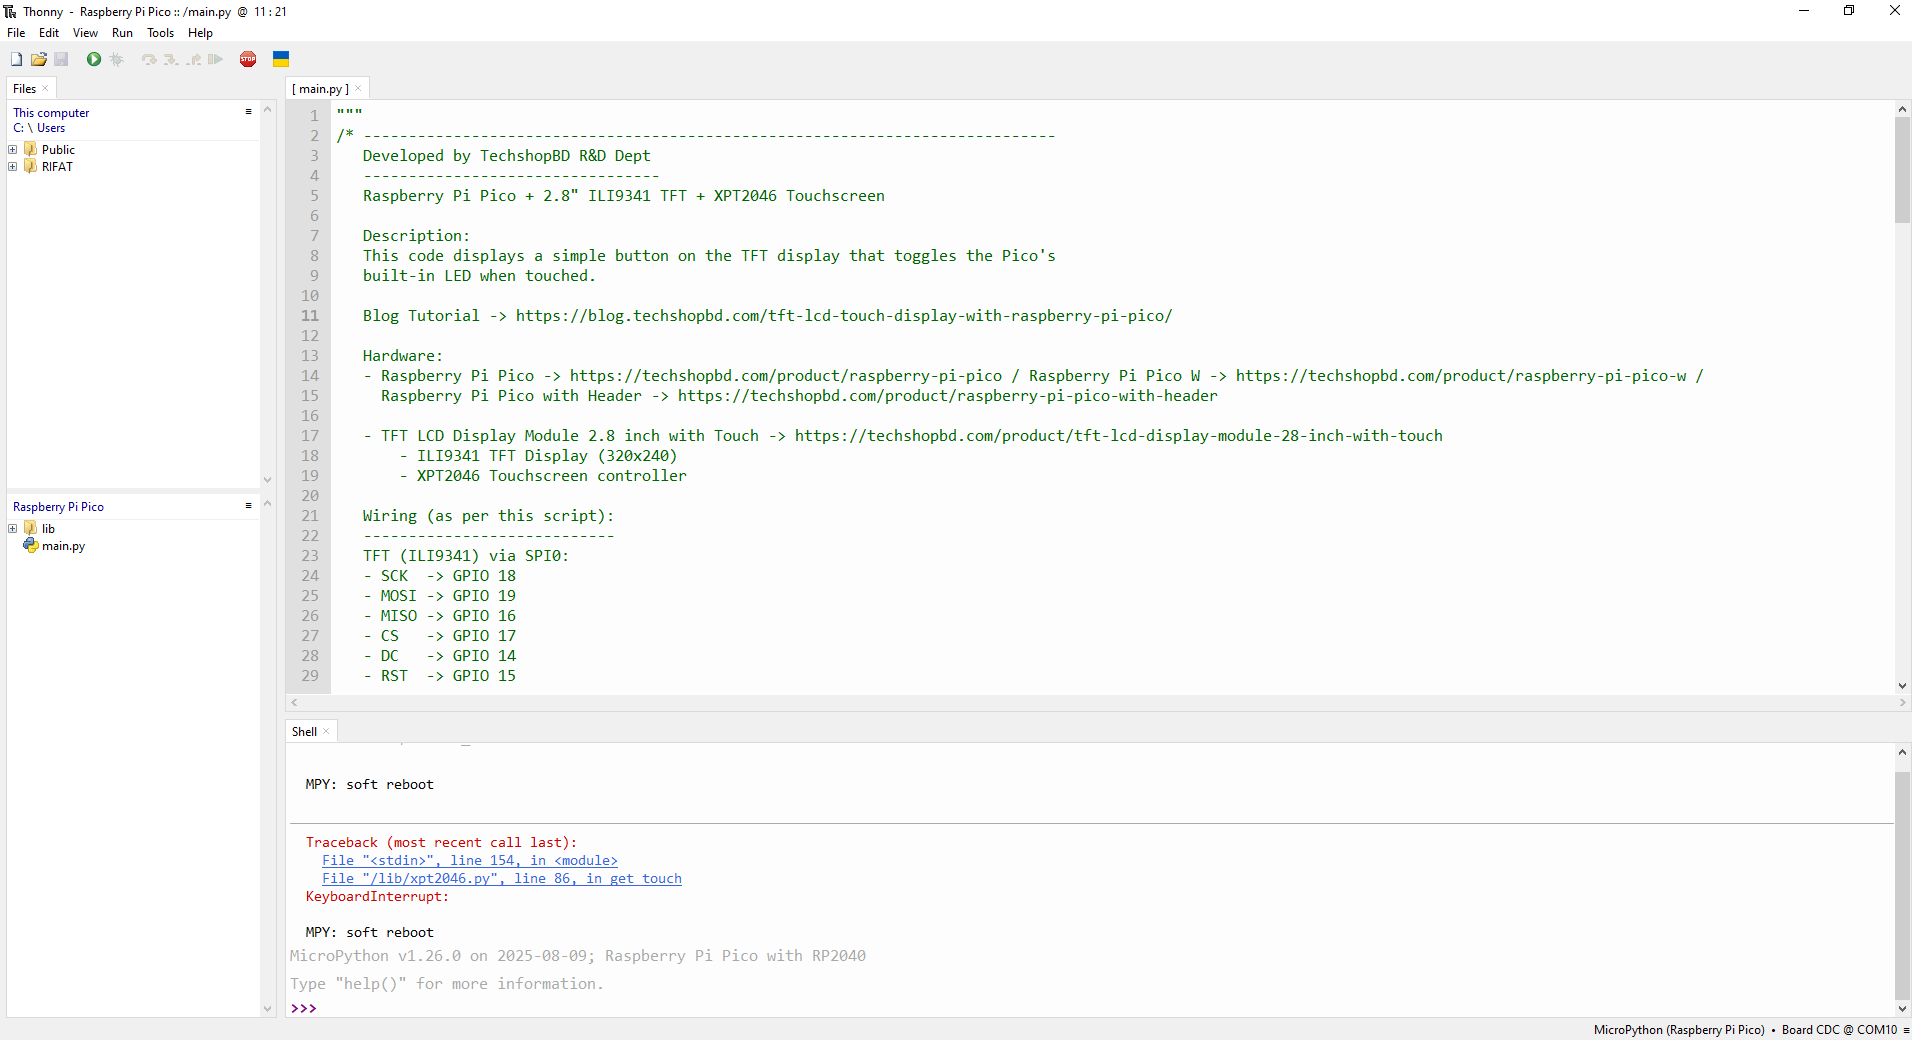
নিচের কোডটি Thonny IDE এর কোড ইডিটরে কপি করে পেস্ট করে নাও।
Code:
"""

/* -----------------------------------------------------------------------------

   Developed by TechshopBD R&D Dept

   ---------------------------------

   Raspberry Pi Pico + 2.8" ILI9341 TFT + XPT2046 Touchscreen

   Description:

   This code displays a simple button on the TFT display that toggles the Pico's

   built-in LED when touched.


   Blog Tutorial -> https://blog.techshopbd.com/tft-lcd-touch-display-with-raspberry-pi-pico/

   Hardware:

   - Raspberry Pi Pico -> https://techshopbd.com/product/raspberry-pi-pico / Raspberry Pi Pico W -> https://techshopbd.com/product/raspberry-pi-pico-w /

     Raspberry Pi Pico with Header -> https://techshopbd.com/product/raspberry-pi-pico-with-header


   - TFT LCD Display Module 2.8 inch with Touch -> https://techshopbd.com/product/tft-lcd-display-module-28-inch-with-touch

       - ILI9341 TFT Display (320x240)

       - XPT2046 Touchscreen controller

   Wiring (as per this script):

   ----------------------------

   TFT (ILI9341) via SPI0:

   - SCK  -> GPIO 18

   - MOSI -> GPIO 19

   - MISO -> GPIO 16

   - CS   -> GPIO 17

   - DC   -> GPIO 14

   - RST  -> GPIO 15

   Touch (XPT2046) via SPI1:

   - SCK  -> GPIO 10

   - MOSI -> GPIO 11

   - MISO -> GPIO 12

   - CS   -> GPIO 13

   - IRQ  -> GPIO 9 (optional)

   Onboard LED:

   - GPIO 25

   Libraries required:

   - ili9341.py → https://github.com/rdagger/micropython-ili9341/blob/master/ili9341.py

   - xpt2046.py → https://github.com/rdagger/micropython-ili9341/blob/master/xpt2046.py

   Notes:

   - Make sure your wiring matches these pin definitions.

   - Designed for the 2.8" TFT modules.

----------------------------------------------------------------------------- */

"""

from machine import Pin, SPI

import time

from ili9341 import Display, color565

from xpt2046 import Touch

# ========================

# SPI0 for TFT Display

# ========================

# Using SPI0 of Raspberry Pi Pico for TFT communication

spi0 = SPI(0, baudrate=40000000, polarity=0, phase=0,

           sck=Pin(18), mosi=Pin(19), miso=Pin(16))

# TFT control pins

cs_tft = Pin(17, Pin.OUT)   # Chip Select for TFT

dc_tft = Pin(14, Pin.OUT)   # Data/Command control

rst_tft = Pin(15, Pin.OUT)  # Reset pin

# ========================

# SPI1 for Touchscreen

# ========================

# Using SPI1 for XPT2046 touchscreen

spi1 = SPI(1, baudrate=2000000, polarity=0, phase=0,

           sck=Pin(10), mosi=Pin(11), miso=Pin(12))

# Touch control pins

cs_touch = Pin(13, Pin.OUT)  # Chip Select for touch

irq_touch = Pin(9, Pin.IN)   # Touch interrupt (optional, not used here)

# ========================

# Initialize TFT Display

# ========================

tft = Display(spi0, dc=dc_tft, cs=cs_tft, rst=rst_tft,

              width=240, height=320)

tft.clear(color565(255, 255, 255))  # Clear screen to white

# ========================

# Initialize Touchscreen

# ========================

# Touch calibration values (depends on your screen)

touch = Touch(spi1, cs_touch,

              width=240, height=320,

              x_min=100, x_max=1962,

              y_min=100, y_max=1900)

# ========================

# LED Setup

# ========================

led = Pin(25, Pin.OUT)  # Onboard LED of Pico (GPIO 25)

led_state = False        # Track LED ON/OFF state

# ========================

# Button Position and Size

# ========================

btnX = 60   # Top-left X coordinate of button

btnY = 120  # Top-left Y coordinate of button

btnW = 120  # Button width

btnH = 60   # Button height

# ========================

# Draw Button Function

# ========================

def draw_button(state):

    """

    Draws a button on the TFT display.

    Button is green when LED is ON, red when LED is OFF.

    Also draws a label in the center of the button.

    """

    # Clear screen to white

    tft.fill_rectangle(0, 0, 240, 320, color565(255, 255, 255))

    # Set button color depending on LED state

    btn_color = color565(0, 200, 0) if state else color565(200, 0, 0)

    tft.fill_rectangle(btnX, btnY, btnW, btnH, btn_color)  # Draw filled rectangle

    # Draw button border in black

    tft.draw_rectangle(btnX, btnY, btnW, btnH, color565(0, 0, 0))

    # Set button label and text color

    if state:

        label = "LED ON"

        text_color = color565(0, 80, 0)   # Dark green text

    else:

        label = "LED OFF"

        text_color = color565(255, 255, 255)  # White text

    # Draw text centered in the button

    tft.draw_text8x8(btnX + btnW // 2 - (len(label) * 4),

                     btnY + btnH // 2 - 4,

                     label,

                     text_color,

                     background=btn_color)

# ========================

# Draw Initial Button

# ========================

draw_button(led_state)

# ========================

# Main Loop

# ========================

while True:

    # Check if touch is detected

    coords = touch.get_touch()

    if coords:

        x, y = coords  # Get raw touch coordinates

        # Adjust coordinates for screen orientation/calibration

        x = 240 - x   # Mirror X-axis

        y = y - 10    # Offset Y-axis

        # Check if touch is inside button area

        if (btnX <= x <= btnX + btnW) and (btnY <= y <= btnY + btnH):

            # Toggle LED state

            led_state = not led_state

            led.value(led_state)  # Update physical LED

            # Update button display

            draw_button(led_state)

            # Debounce delay to avoid multiple toggles

            time.sleep(0.1)

    # Small delay to reduce CPU usage

    time.sleep(0.05)
এখন Run>Run current script (বা F5) ক্লিক করো। দেখবে তোমার TFT LCD Touch Display Module একটি বাটন চলে এসেছে এবং সেটি প্রেস করে তুমি Pico এর Build in led কন্ট্রোল করতে পারছো। অর্থাৎ তোমার ডিসপ্লে এবং টাচ উভয় কাজ করছে।
Output
TFT Display এর হুকআপ গাইড পেতে আরো পড়তে পারো…………
TFT Display Interfacing সম্পর্কে জানতে পড়তে পারো………
ESP32 নিয়ে Beginner to Advance গাইডলাইন পেতে আরো পড়তে পারো………
- ESP32 মাইক্রোকন্ট্রোলারের অজানা কিছু তথ্য
- ESP32 পাওয়ার সিস্টেম ইঞ্জিনিয়ারিং
- ESP32 অটো প্রোগ্রাম রিসেট সার্কিট
- ESP প্রোগ্রামিং-এ Espressif IDE VS Arduino IDE
- ESP32 মাইক্রোকন্ট্রোলারের কথোপোকথন